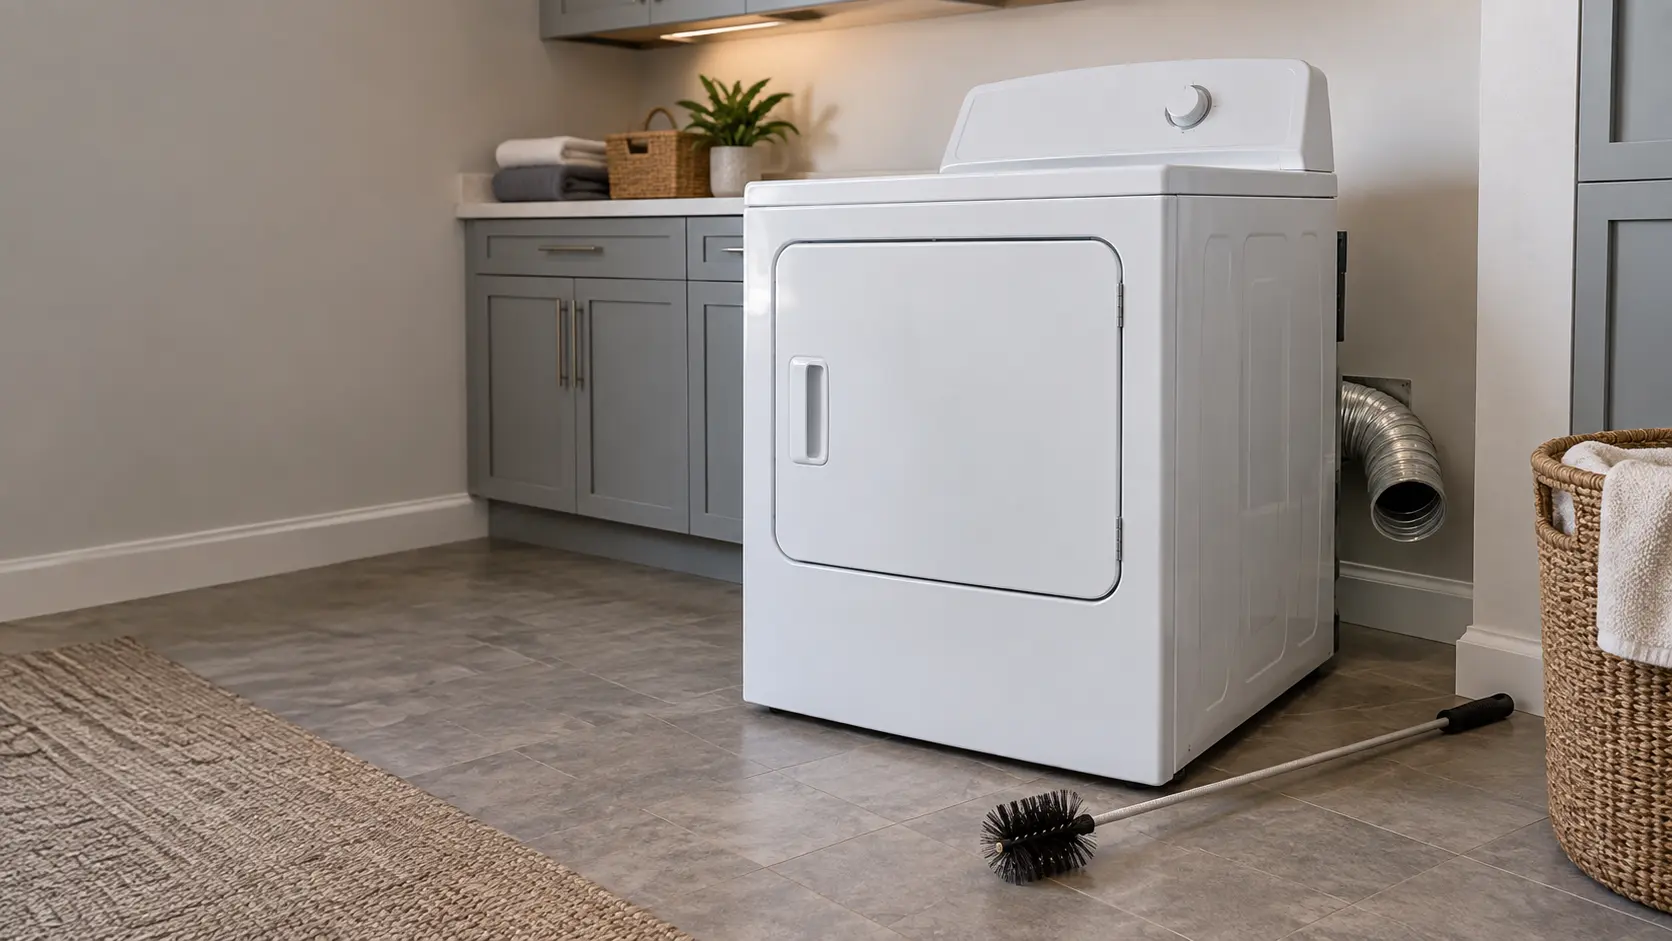


Why the schedule matters
The U.S. Fire Administration lists failure to clean as the leading factor in home clothes dryer fires, at 31 percent for 2018 to 2020. Lint is fine, dry fiber, and the duct carries it past a heat source every time the dryer runs. That is the fire reason, and it is enough on its own.
There is a mechanical reason too. A partly blocked duct makes the dryer work against back pressure, so cycles stretch, the cabinet runs hot and the safety devices near the heater begin to trip. Many of the calls we get for a dryer that stopped heating end with a cleared duct and a new thermal fuse.
Source: USFA — Appliance and electrical fire safety — Failure to clean (31%) was the leading factor in home clothes dryer fires, 2018–2020
The three layers of the schedule
Think of the lint path as three stages, each needing a different interval.
The screen, every load
Pull the screen and roll the lint off with your fingers before or after each cycle. The USFA flyer asks for both, and it takes seconds. A full screen cuts airflow on the very next load, not just eventually.
The screen and its slot, every few months
Electrolux advises washing the screen in warm, soapy water now and then to remove residue, and drying it fully before putting it back. Hold it under a tap first: if water beads and sits on the mesh instead of running through, it is overdue. While the screen is out, a narrow vacuum attachment clears the lint that falls into the slot below it.
The full duct, once or twice a year
Samsung tells owners of its dryers to clean the exhaust vent once or twice per year. Treat once a year as the floor for a light-use household with a short, straight run, and twice as the norm for families running a load or more every day.
Source: USFA — Clothes dryer fire safety flyer — Clean the lint filter before and after each cycle, never run without it, and make sure the outdoor vent flap opens while the dryer runs; Samsung — How to clean your Samsung dryer — Clean the exhaust vent once or twice per year; Electrolux — Not drying and extended drying time — Periodically wash the lint screen in warm, soapy water and dry it before refitting
What shortens the interval
No single calendar fits every house. These conditions call for cleaning on the shorter end, or checking more often between cleanings:
A new owner of an older house should treat the duct as unknown. Clean and inspect it once on moving in, note what it is made of and where it exits, and then set the calendar from what you find inside.
- Heavy use: towels, bedding and pet blankets shed much more lint than everyday clothes.
- A long run, several elbows, or a duct that climbs to the roof, where lint settles at every bend.
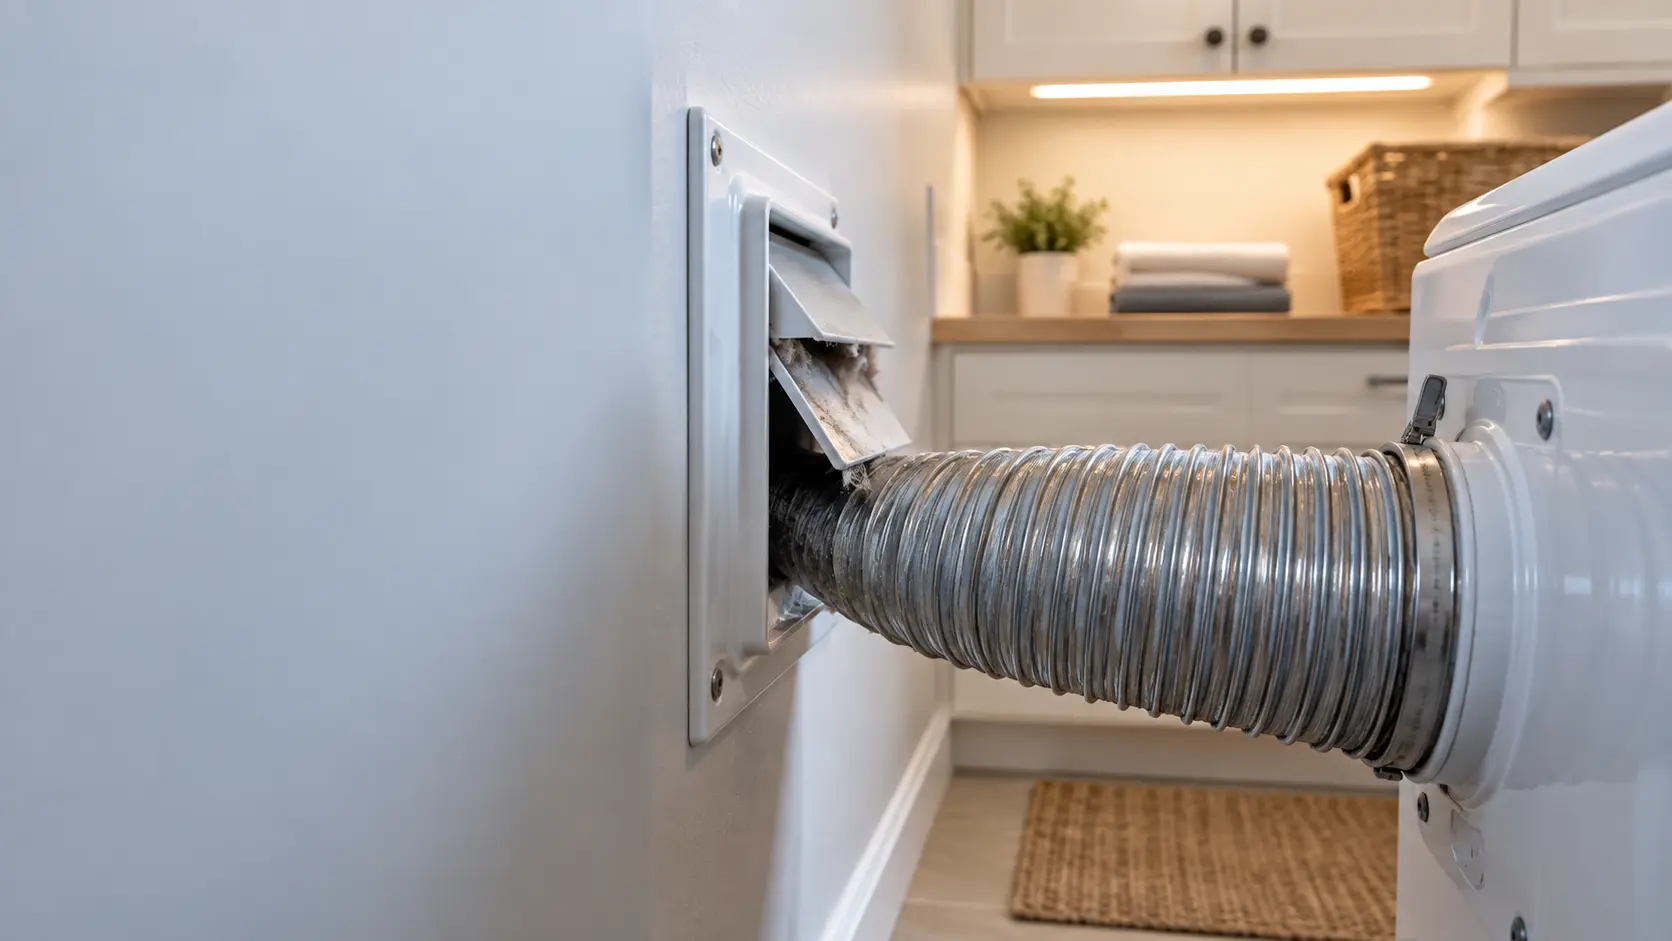
- Flexible foil or vinyl duct, whose ridges trap lint and which crushes easily behind the machine.
- An exterior hood with a screen over it, which catches lint and clogs from the outside.
- A hood near the ground or behind shrubs, where leaves, snow or nesting birds block the flap.
Signs the duct is due now
The calendar is a backstop. The dryer will usually tell you sooner, and any of these signs means cleaning the duct before the next heavy load rather than at the next scheduled date.
- A normal load now needs a second cycle, or the timed cycle ends with damp seams and pockets.
- The top of the dryer and the clothes feel hotter than they used to.
- The flap on the outside hood barely opens, or does not open at all, while the dryer runs.
- Lint collects around the outside hood or behind the dryer on the floor.
- The laundry room gets humid or smells of hot lint during a cycle.
The one-minute hood test
Start the dryer on a heated cycle with a load inside and go outside to the hood. The USFA flyer asks you to make sure the outdoor flap opens while the dryer runs, and you should feel a strong, warm flow. A weak breath of air, or a flap that stays closed, means a blockage somewhere between the drum and the wall.
Source: USFA — Clothes dryer fire safety flyer — Clean the lint filter before and after each cycle, never run without it, and make sure the outdoor vent flap opens while the dryer runs
Doing it yourself or booking it
A short run from the back of an electric dryer straight through the wall is a reasonable weekend job with a brush kit and a vacuum. The steps below cover that case. Dryer vent cleaning becomes a job for a technician when the run passes through a ceiling or up to the roof, when the duct is inside a finished wall, or when the dryer is gas and has to be moved.
Whoever does it, use the visit to look at the duct itself. Crushed foil, a joint held with screws that snag lint, or a hood without a working flap should be replaced, not just cleaned.


