
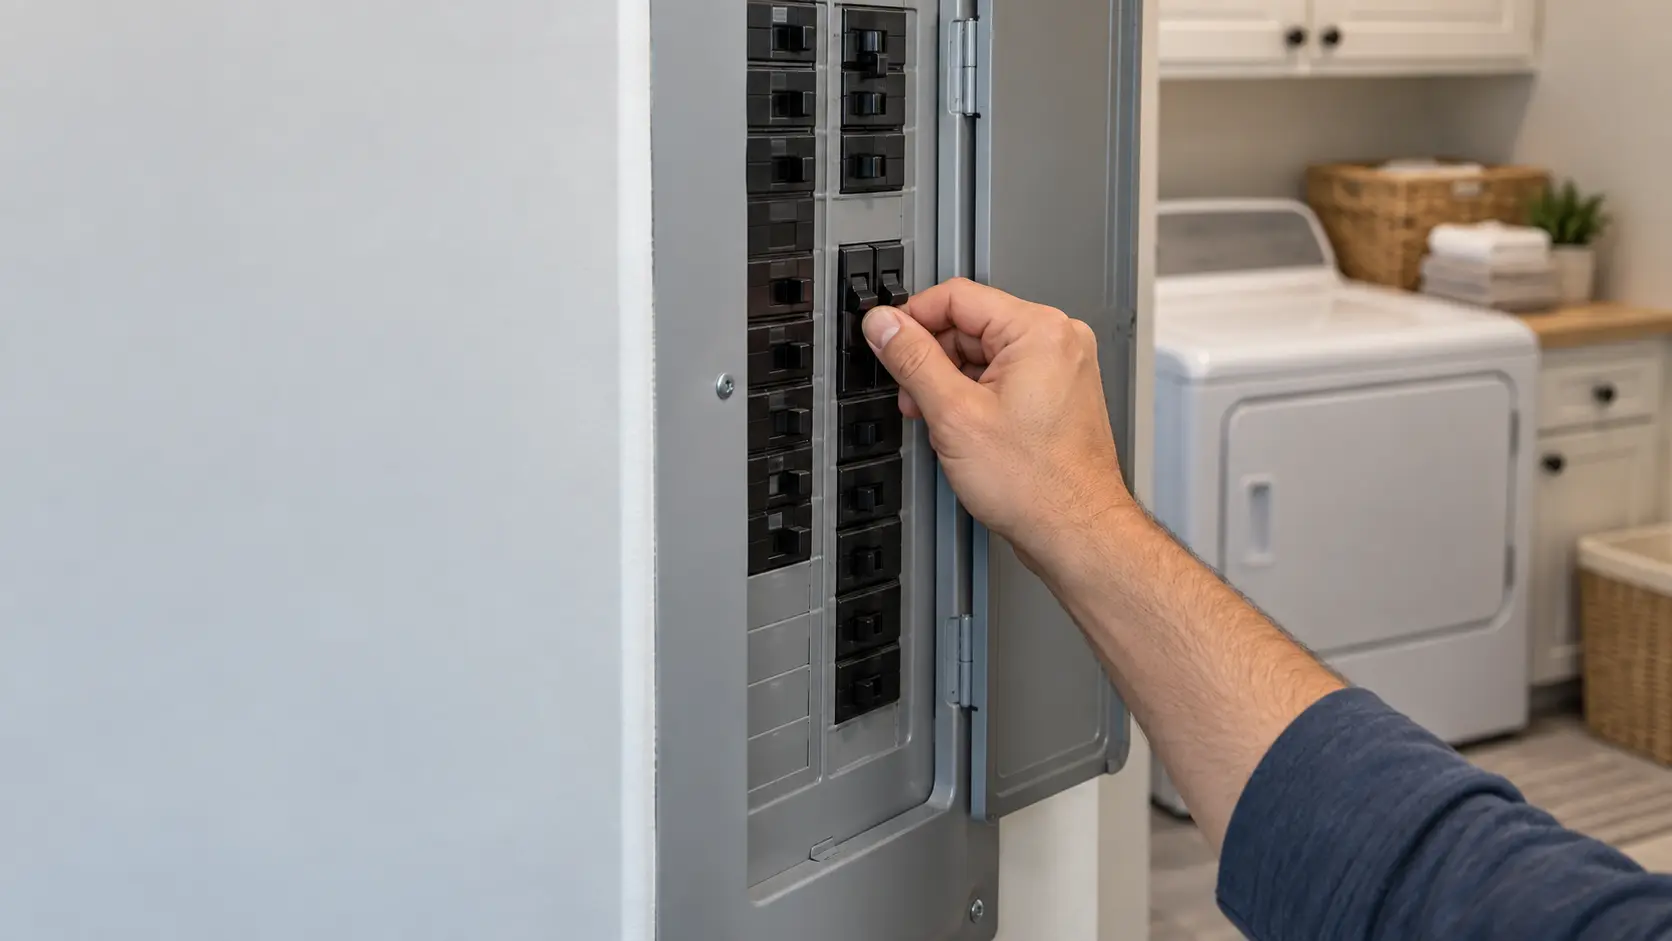

What an owner can safely check
Troubleshooting
guides.
The checks you can make on your own dryer, and the point where going further stops being a good idea.
Mon–Sat, 8am–8pm
- Three guides
- Read before you book
- Says where to stop
Book a visit
Three short steps, about a minute.
or call (844) 314-5837
Loading appointment form…
The appointment form couldn’t load. Please try again.
Troubleshooting,
guide by guide.
These guides cover the part of a repair that happens before anyone arrives: the checks an owner can make on a dryer with the door open, the screen out and a flashlight in hand. They are ordered the way a technician would work, from the supply at the panel to the airflow at the hood.
All 18 guides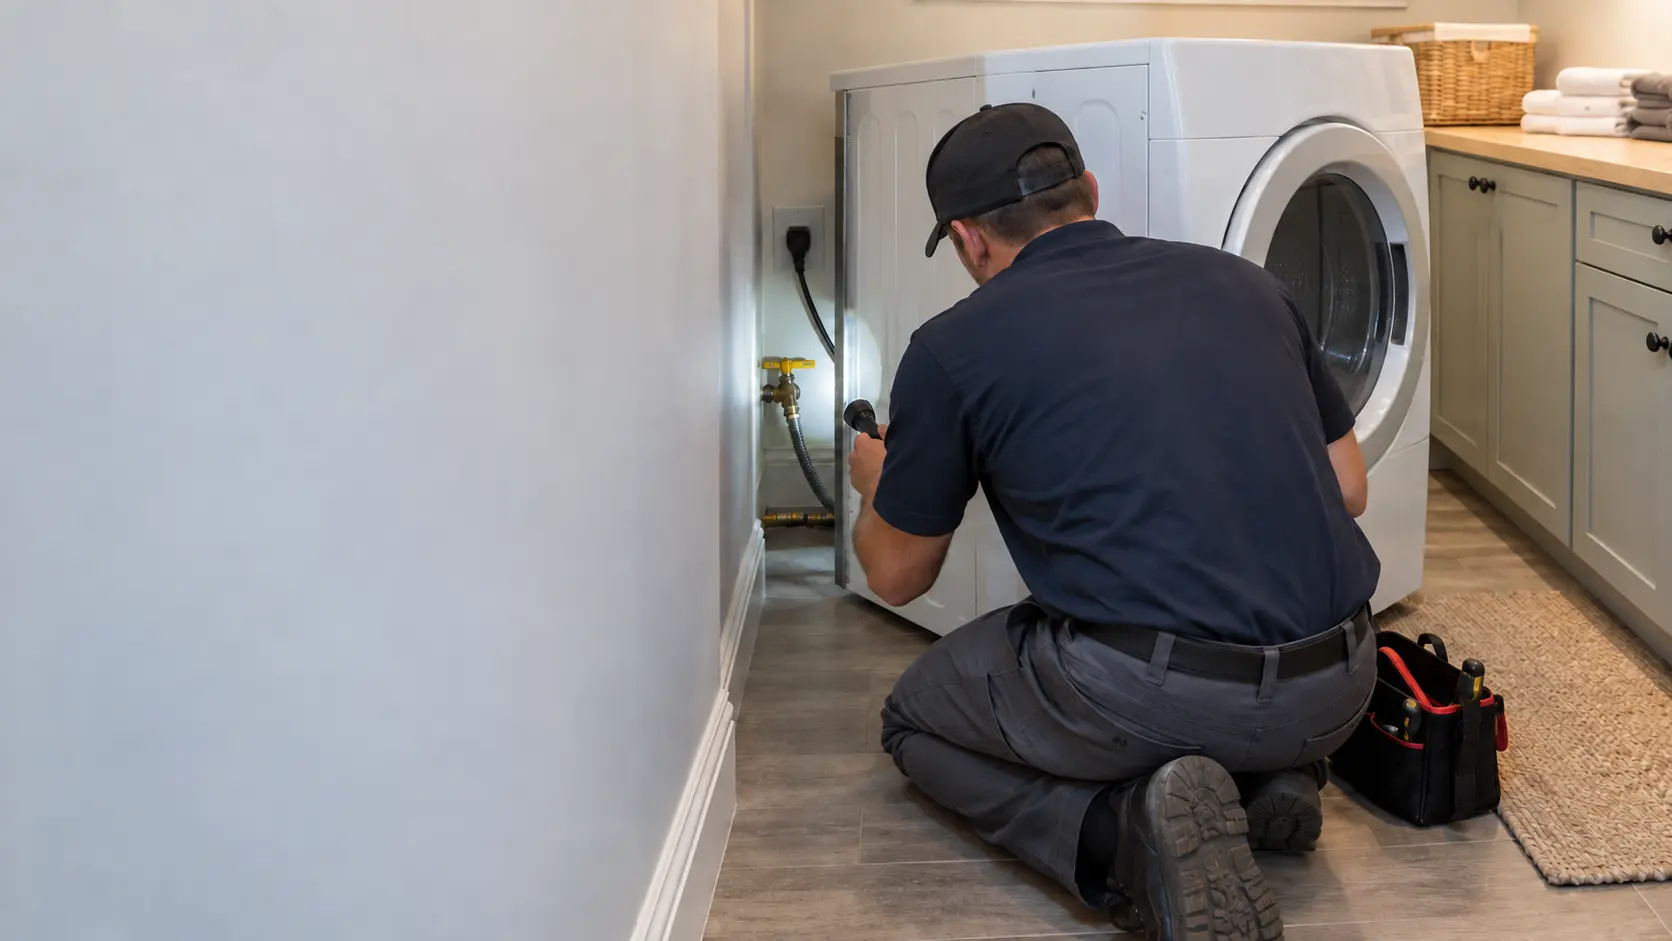
Five checks before you call for dryer repair

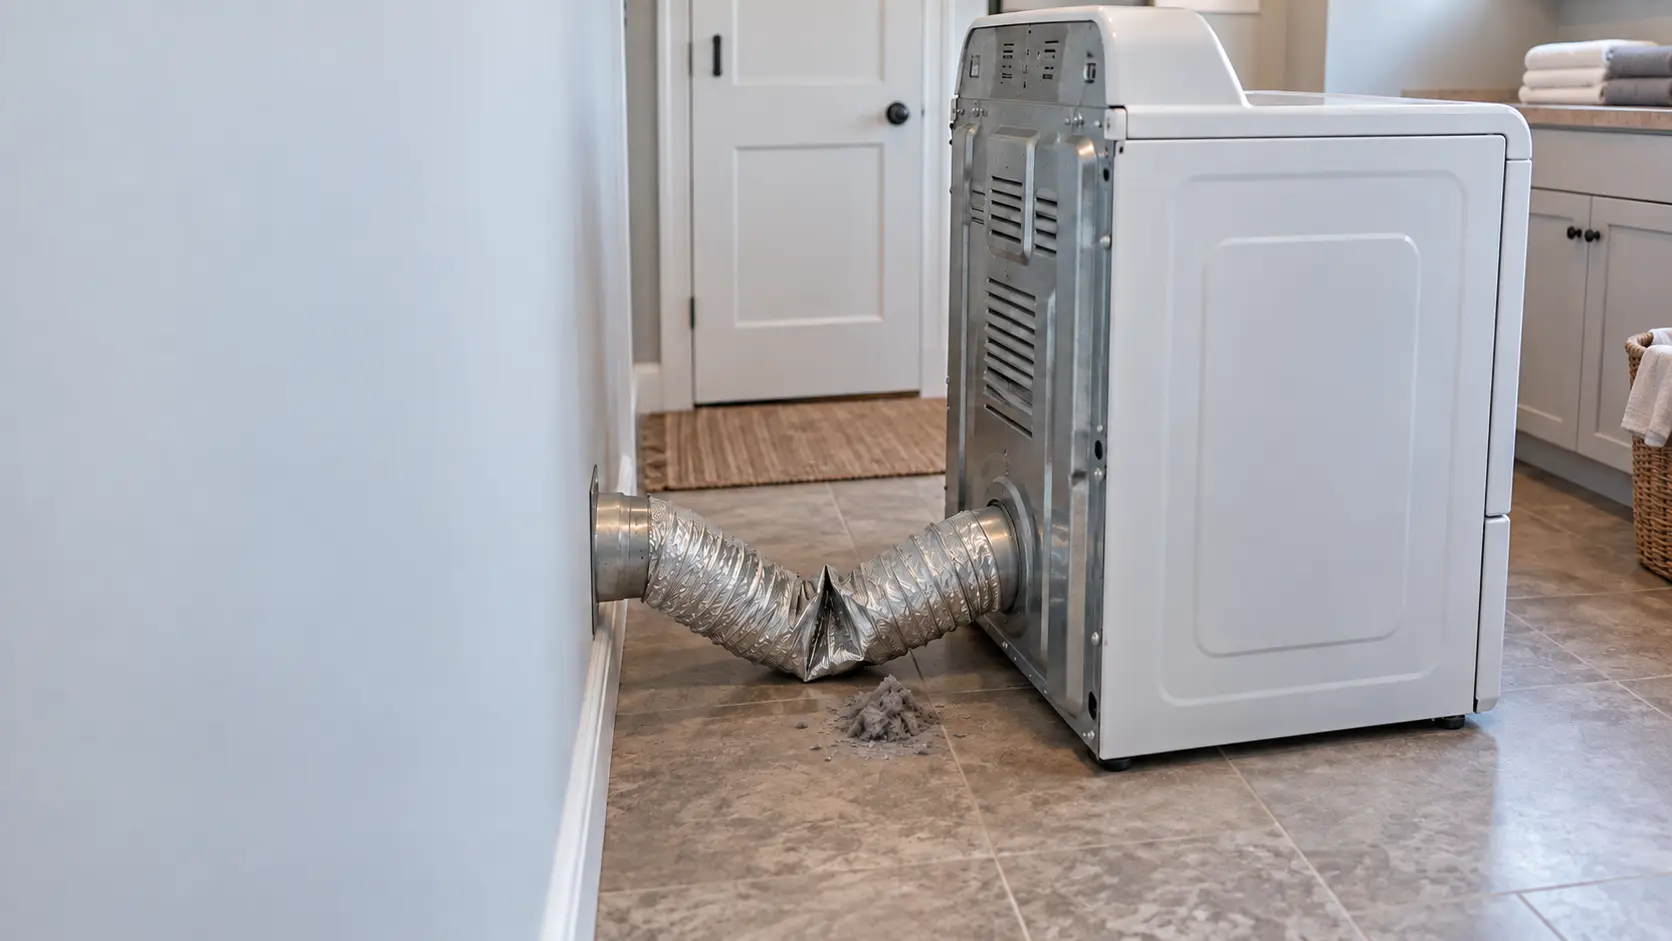
Clean the lint path first: screen, duct and hood
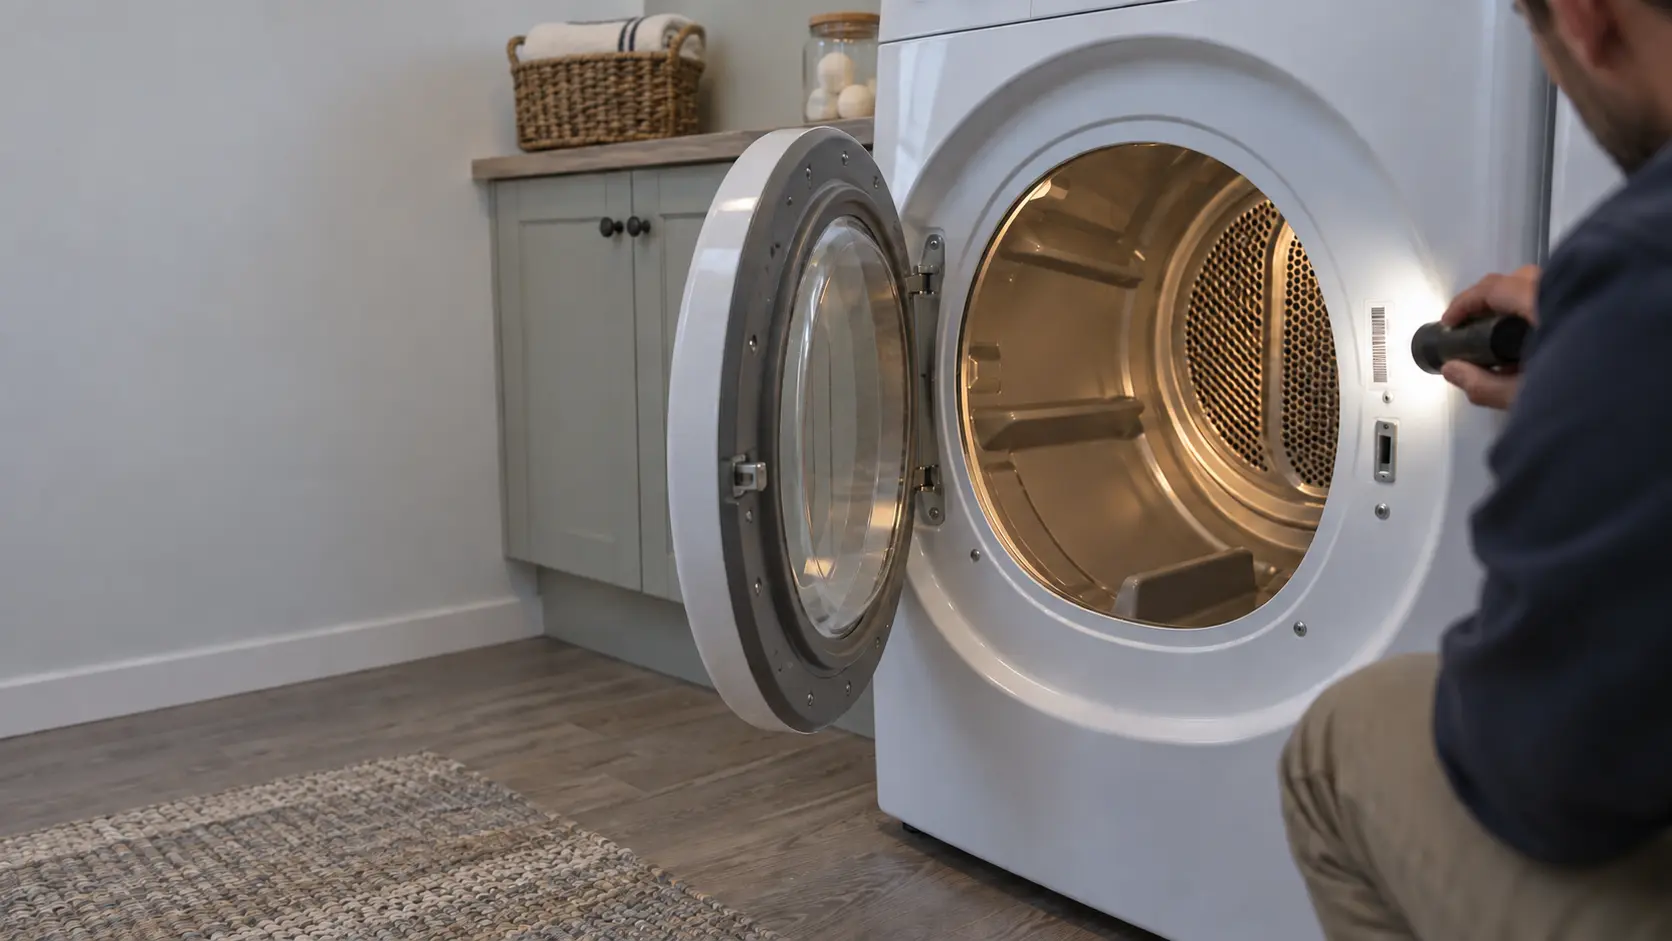
Find your dryer's model number
What an owner can safely check.
Each check either closes off a cause or narrows it, and the notes you make along the way, such as which breaker, what the hood felt like or which label is inside the door, shorten the visit that follows. Finding the model number belongs here for the same reason: it decides which parts and which manual apply.
Every guide also marks a clear line. Opening the cabinet, testing live terminals, working on a gas connection or feeding a brush into a duct you cannot see the end of is where owner checks stop.
Not sure where to start?The short answerFive checks before you call for dryer repair
Useful dryer troubleshooting before you call covers five things: power at the panel and plug, the door and control lock, the lint screen and its slot, the vent hood outside, and the gas valve or cycle setting.
The short answerClean the lint path first: screen, duct and hood
To clean the dryer lint trap properly, clear the screen before every load, wash the mesh when softener film builds up, vacuum the slot it slides into, then inspect the duct behind the dryer and the hood outside.
The short answerFind your dryer's model number
The usual dryer model number location is a label inside the door opening: on the rim of the opening, the frame beside it, or the inside of the door on stacked units.
When reading
is not enough.
If the checks in these guides did not settle it, the visit picks up from there, stop by stop.
What repairs cost- 01Test before touching
- 02The price comes first
- 03The right part
- 04Repair and a test load
The problems
these answer.
Each has a page of its own, with the causes in the order worth checking.
All 17 problems


Questions about
troubleshooting.
Do I need any tools for these checks?
What if every check passes and the problem stays?
Is it safe to do these checks on a gas dryer?
The other
sections.
Split by what you are trying to find out rather than by which part of the appliance it concerns.
All guides


Back to your everyday
Let’s get your dryer working again.
Three short steps online, or one call. Tell us what you are seeing and pick a window that works.